A prototype is a tangible model of a future product used to validate and demonstrate design concepts. Prototyping is an integral part of the design process because the result of the prototyping phase directly impacts the implementation phase. In this article, we will share a step-by-step guide for creating a prototype for a digital product, including preparation activities, the actual process of creating a prototype, and activities that should be done after the prototyping.
When you start a new product, it might be tempting to launch your favorite digital design tool and start pushing pixels. But the prototyping process begins way before you draw your first rectangle in a digital design tool. Prototyping should be rooted in user and market research, content audit, and user journey analysis. Here are a few things that product creators need to do before creating a prototype.
It's essential to clearly understand what you want to achieve with the prototype. When you set specific goals up front, it will guide your design decisions. For example, if your goal is to validate a product purchase flow in an eCommerce app, you will prototype the screens that will help you achieve this goal. In other words, clearly defined goals will help you identify the prototyping scope.
Who is your ideal user?
You should have a clear answer to this question before creating a prototype. Your design should satisfy the needs and expectations of your target audience.
Different categories of users have different levels of technical expertise and different aesthetic preferences. For example, if your target audience is younger people (age 15-25), you can experiment with trendy visual styles and unconventional interaction patterns (such as making gestures a primary way of interaction, like in Snapchat). But if your target audience is senior people (age 60+), you might want to use familiar interaction patterns and more traditional visual design schemes. Note that you should validate your design with your target audience in both cases.
Prototypes can range from low fidelity (prototypes with a bare minimum level of details and functionality) to high fidelity (prototypes that look and work like a finished product).
During the preparation step, you must decide how much detail you want to include in the prototype. This decision should be based on how you plan to use a prototype. For example, suppose you're only at the beginning of the design process and want to explore multiple design ideas. In that case, you might want to go for low fidelity because lo-fi prototyping will allow you to move fast. But when you need to do design handoff (share user interface design with developers), it's better to go for high-fidelity prototypes because it will help minimize the risks of incorrect implementation.
Content is the primary reason why people visit websites and install apps. It's possible to prototype screens using dummy text (Lorem Ipsum), but most of the time, it's preferable to use real or realistic texts.
When you design with Lorem Ipsum, you often have to adjust the layout design later in the design process when you have to replace dummy text with actual content. That's why if your prototype includes text, images, or other types of content, you need to gather and organize it before you start building the prototype.
If you cannot gather actual content, you should always try to use realistic content. Most of the time, it's possible to conduct competitor analysis and create realistic content similar to the one that your competitors use.
There are a lot of prototyping tools available on the market, and it might be hard to choose the tool that will satisfy your needs. It's recommended to select a prototyping tool that can be used for low and high-fidelity prototyping and can help with design handoff and usability testing.
There is no single correct way of prototyping products. When it comes to prototyping, different designers might have their own style when creating screens/pages. That's why in this section, we will describe a few general steps that every designer goes through when they make a prototype:
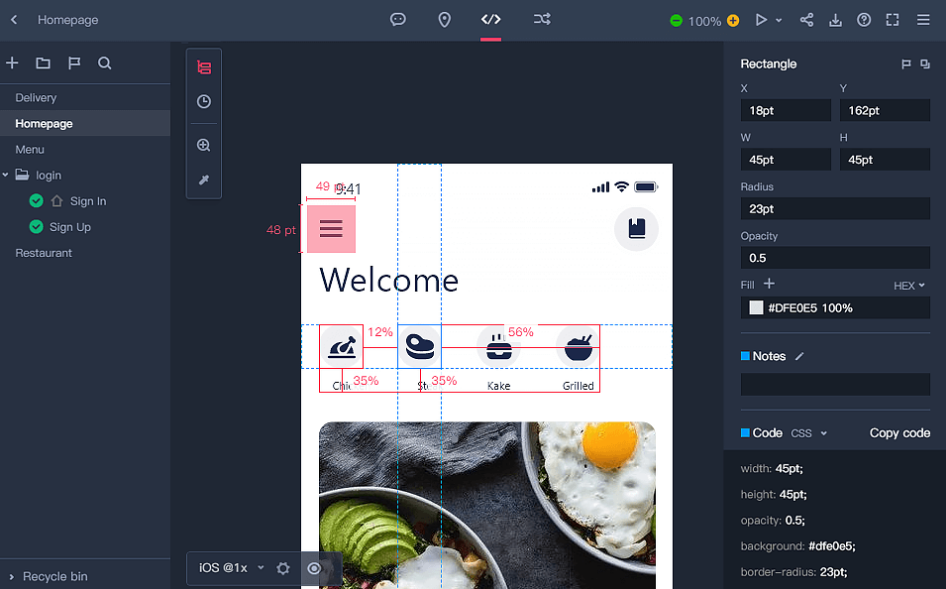
The first thing that you need to do when you want to prototype a particular screen/page is to select the artboard size. The size should be equal to the height and width of the viewport you're designing for.
Properly selected artboards will help you to maintain the size and proportions of individual elements, such as functional controls and text blocks. For example, if you design a mobile app, you can choose an artboard for the iPhone 13 Pro Max, which is 428 x 926.

Selecting default artboard size in Mockplus RP.
UI components are reusable elements that you can use to create your prototype. UI components can be functional elements such as buttons or a content container such as a text block.
If you have a design system in place, you should use the UI components that it offers to create a visually and functionally consistent user interface. But if you don't have a design system, you can rely on UI components provided by your design tool. For example, Mockplus RP offers a lot of commonly used components such as checkboxes, radio buttons, switches, etc. Each component comes in multiple states, so you can easily find the state according to your needs.
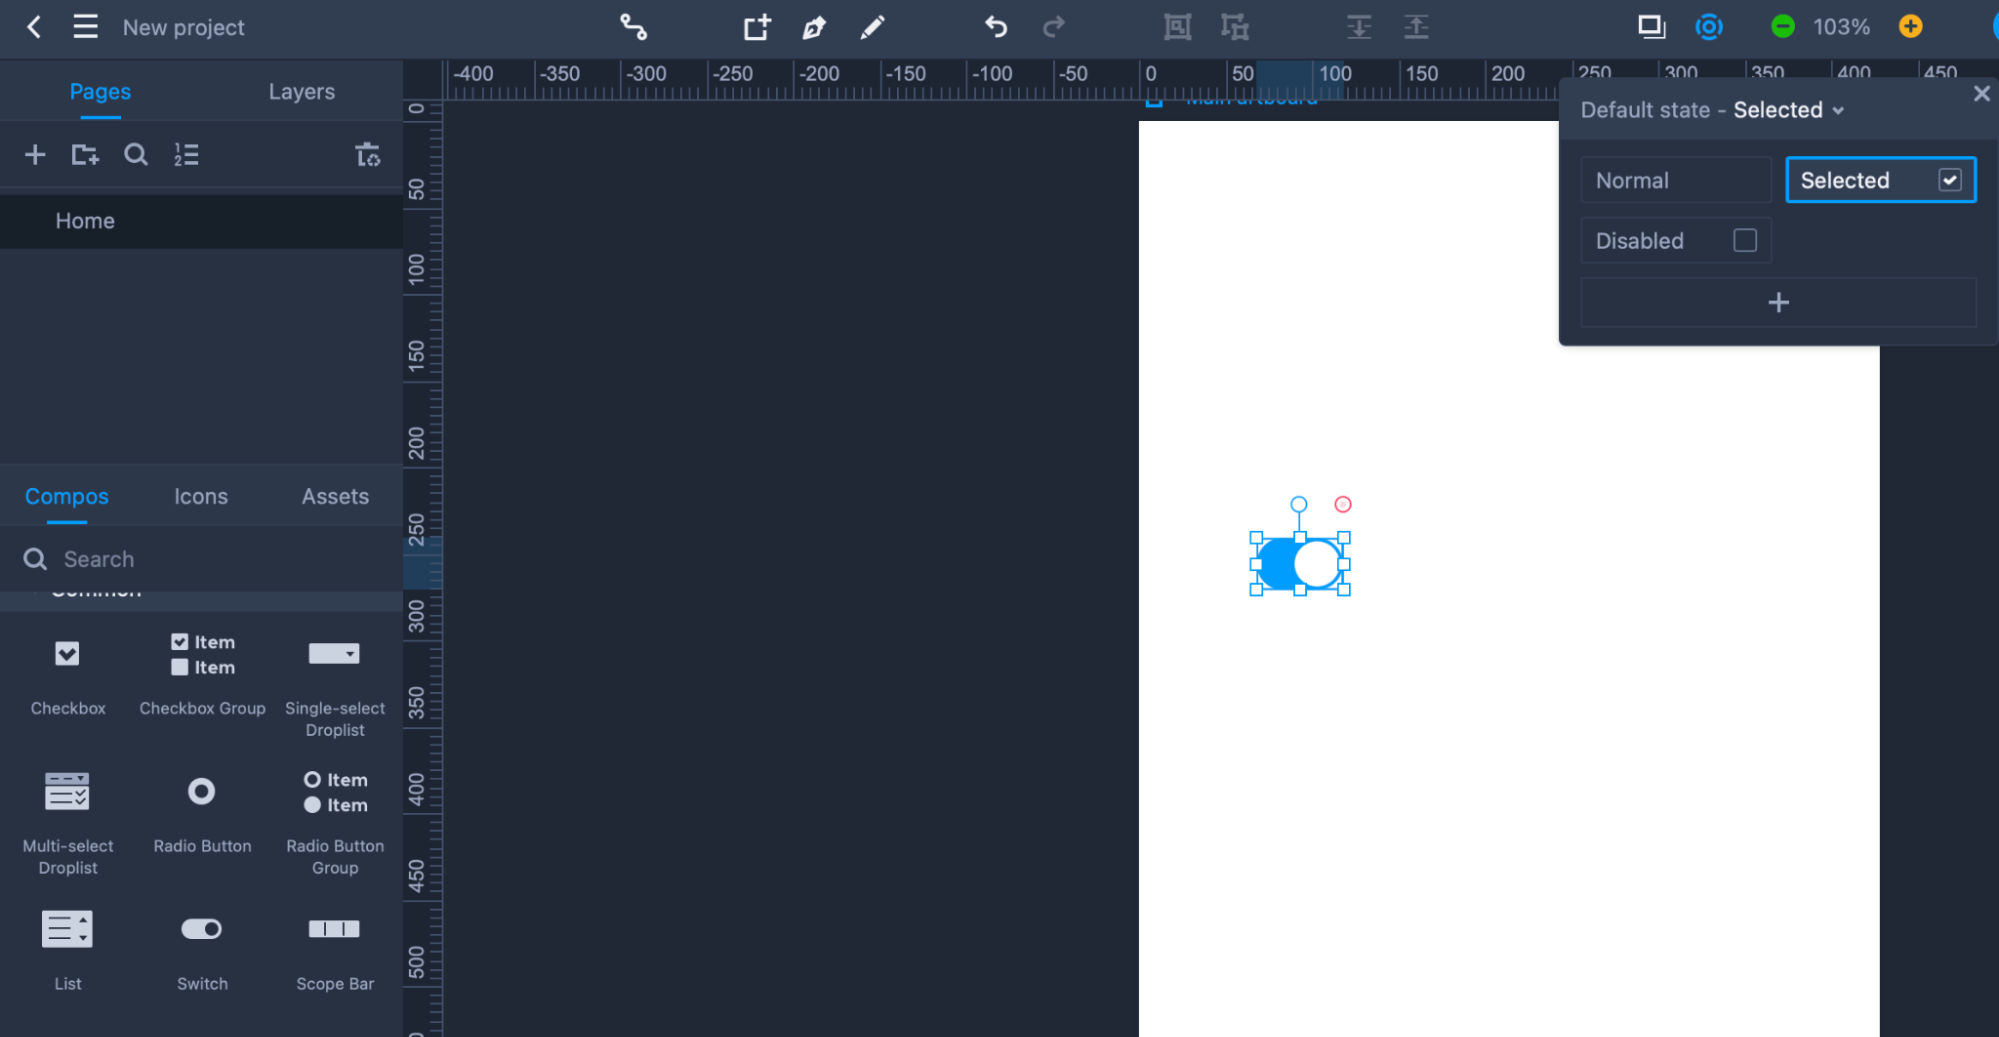
Switch component in active state.
Being familiar with the guidelines and best practices for using components is essential. Check Apple Human Interface Guidelines and Google Material Design to create a design matching user execution.
A layout grid is a handy tool in UI design. It allows you to align the components in a layout. The number of columns that the grid has should be relevant to the size of the viewport. For example, web artboards typically require a 12-column grid, while mobile artboards have a 4- or 8-column grid. In our case, we will use an 8-column grid. Once we make the grid visible, it will become evident that the elements on the artboard require horizontal alignment.
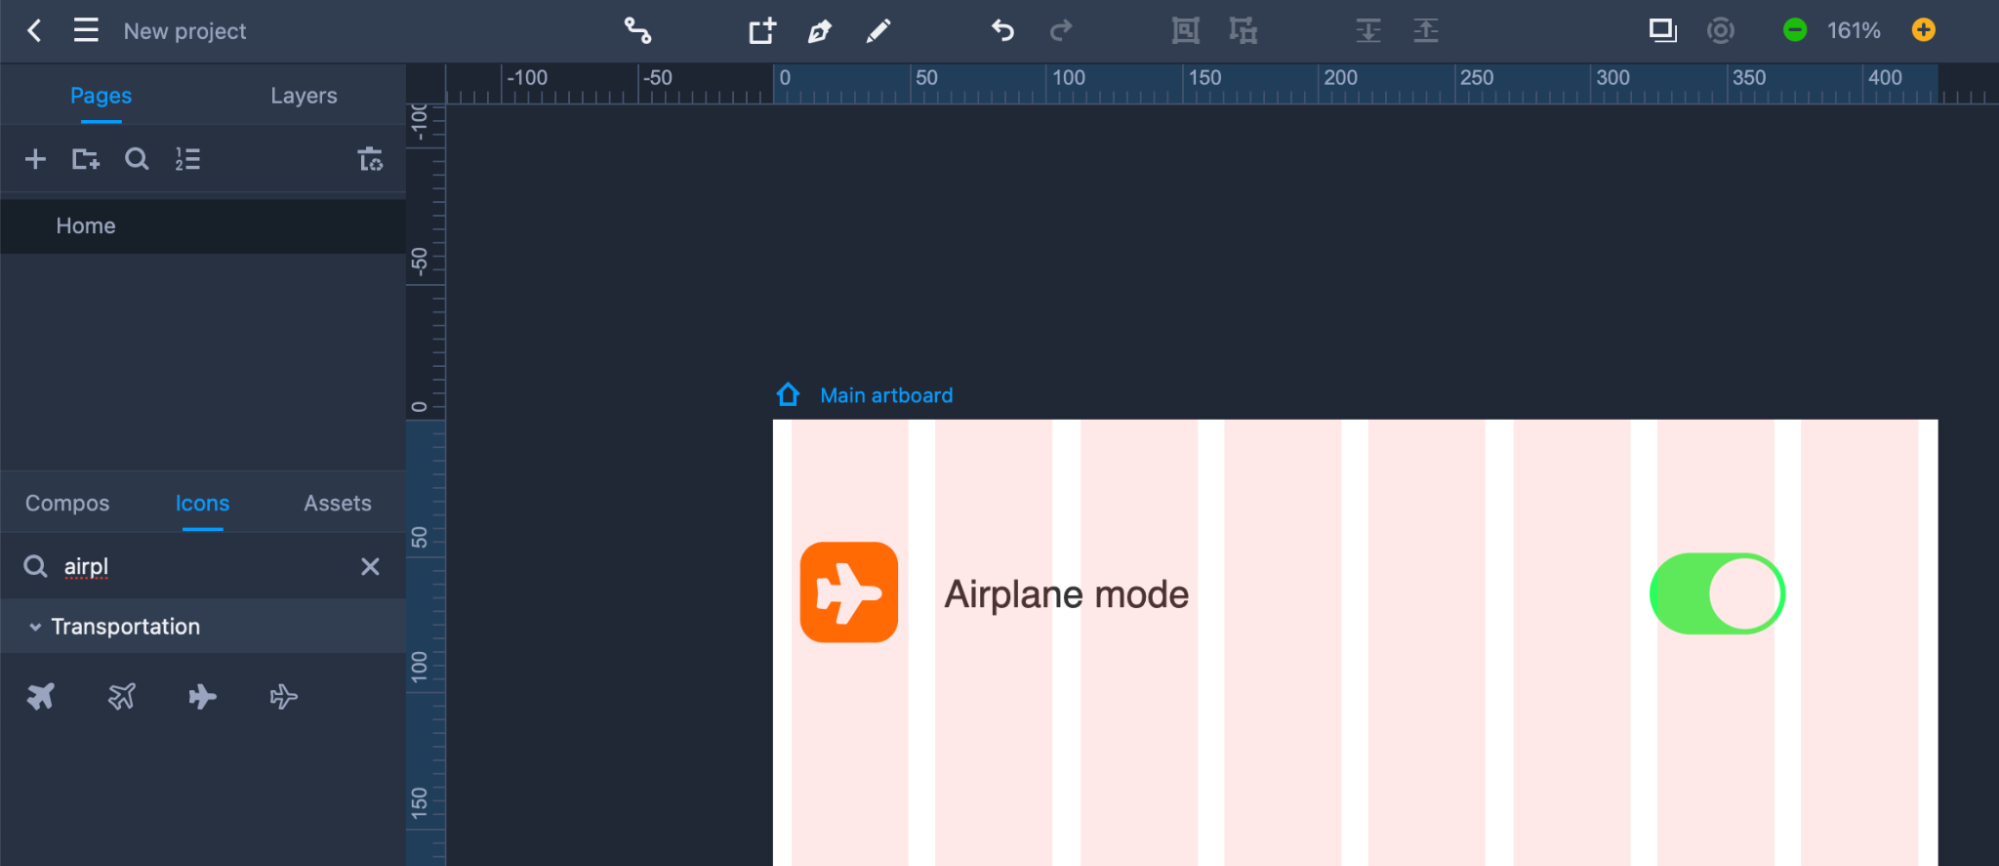
In Mockplus RP, you make the layout grid visible in menu Views > Show Grid.
Interactivity is something that differentiates a prototype from a mockup. Prototypes are always interactive design artifacts. Once you align the elements, it's time to add interactivity to your design.
In our example, we might want to show a pop-up message that says "Airplane mode enabled" when the user turns the switch On. If you use Mockplus RP, you can easily add interactivity—simply select a component that will trigger the state change and choose the Add interaction option in the tab Interactions.
In our case, we must create a copy of our existing artboard and add a new element, a pop-up block with the text message "Airplane mode enabled." After that, all we need to do is to select the switch element in the first artboard and add a Click interaction that will show the second artboard.
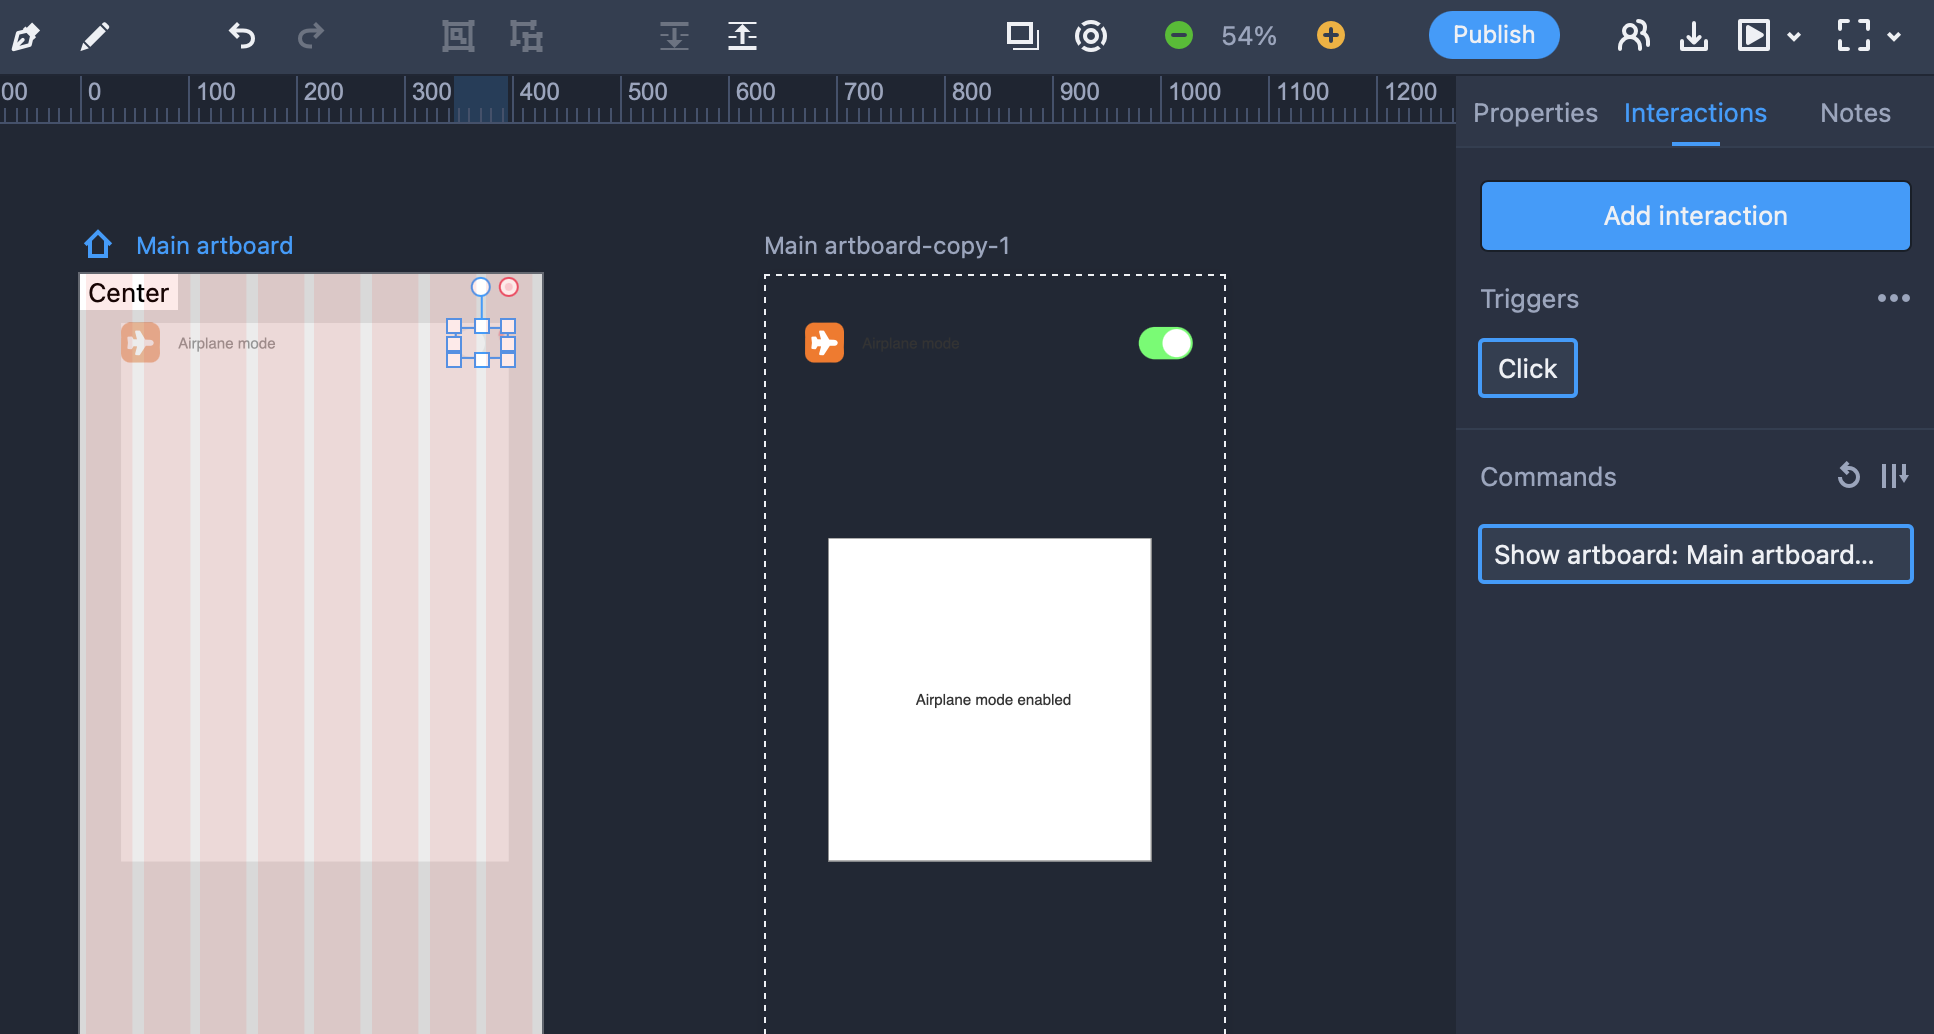
Adding interaction in Mockplus RP.
If you can check how your interaction works in dynamics, click the Play button icon in the top right corner of the screen. As you can see in the example below, the interaction works exactly as expected since the pop-up block becomes visible only when we turn the switch on.
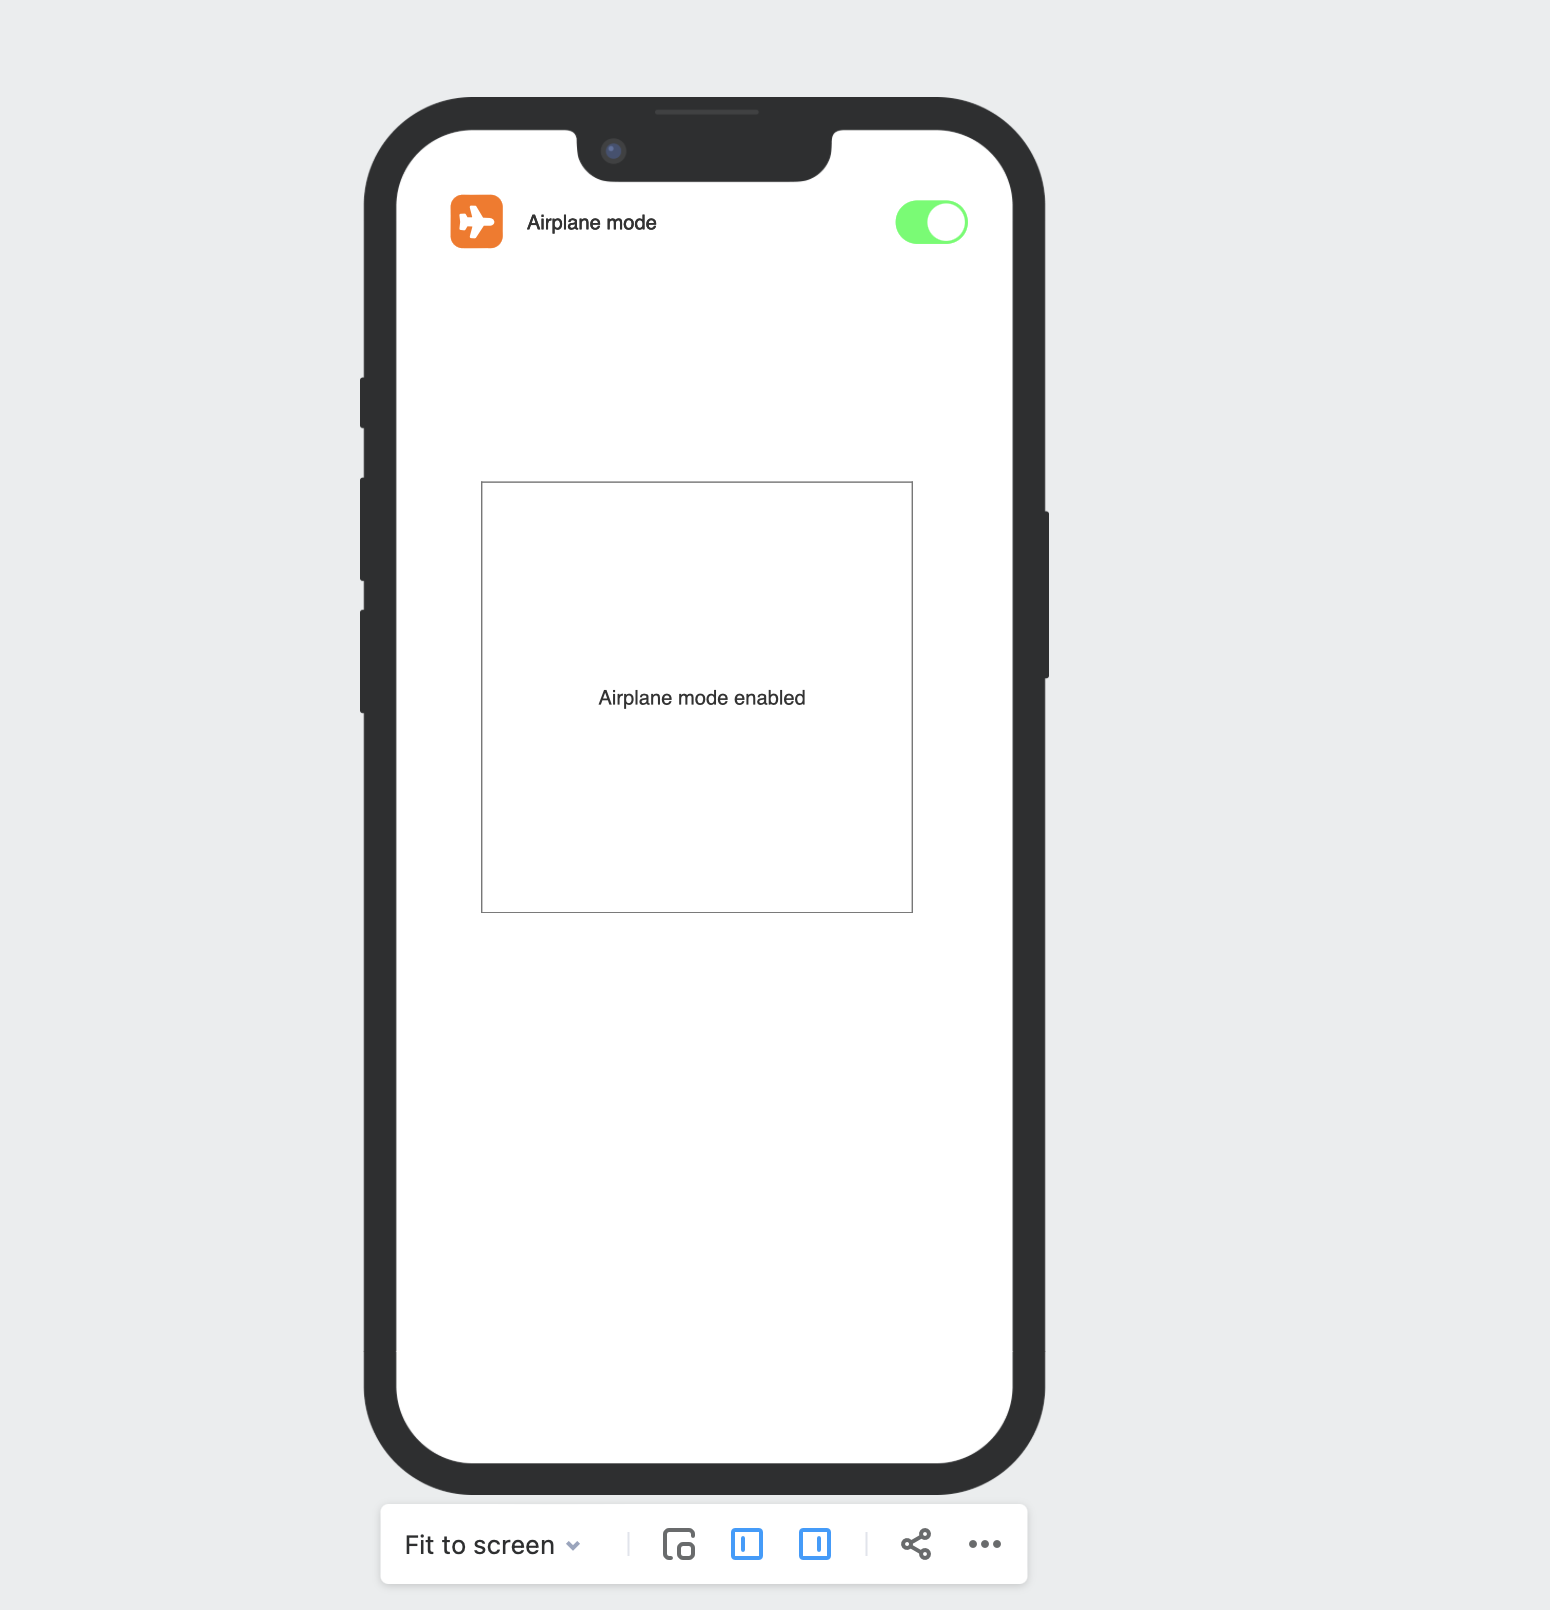
Showing a pop-up element on click
Prototyping is only a step in the design process. No doubt that this step is crucial, but there are a few essential things that product designers should do after they finish prototyping.
If you want to practice user-centered design, you should always validate your prototype with people who will use it. Testing your prototype with users will help to ensure that the product you design is useful, usable, and desirable to the target audience. It will also help you to gather valuable feedback. You will understand what people like/dislike about your product, as well as identify areas where users face friction.
The process of validation typically happens in a format of usability testing. You should prepare a set of tasks based on the typical scenarios of interactions that users will have in your product.
After that, you should find people who represent your target audience. You need to have a clear understanding of who your target user is and evaluate each test participant according to specific criteria. The good news is that you don't have to invite many people. NNGroup suggests that it is possible to identify 85% usability issues with only 5 test participants.

Usability testing will help you identify various issues in your design.
Bad news: all usability issues will hurt the user experience of your product.
Good news: different problems have different levels of impact on UX.
For example, the broken core functionality of your product will have a severe effect on UX, making your product unusable. But slow loading time in rare cases might annoy your users but won't make them abandon your product. So when you collect usability issues, you need to prioritize them according to the level of importance (from critical to low priority) and cost of fixing (from extremely expensive to easy to fix).
Focus on fixing critical issues that are easy to fix. It's possible to apply the Pareto principle to make it easier to find issues to fix—try to identify 20% of the functionality used by 80% of users and ensure that it works properly.
Once you validate your design and introduce all required changes, you can share your design with developers who will turn it into a real product. Depending on the complexity of the product, the handoff phase might require writing a specification and preparing a design system that developers can use. In some cases, designers might even need to create a coded prototype. For example, when they share complex animated transitions with a development team.
The problem of the technical feasibility of the solution can arise during design handoff. Not all design ideas can be easily coded. It's possible to minimize the risk of facing technical feasibility problems by inviting developers early in the design process. But when the problem of feasibility arises, designers have to go back to the prototype phase and find a better solution to a problem.
Conclusion
A prototype is a cornerstone element of your design process because it directly impacts the outcome that a product team produces. The better prototypes designers create, the fewer problems the product team faces during the implementation phase and the fewer chances of making a product that will fail on the market.
Yes, you can create a prototype using tools like Mockplus RP. The great thing is that the Mockplus RP is very intuitive, so if you understand the principles of good UI design, you will be able to create your prototype in no time.
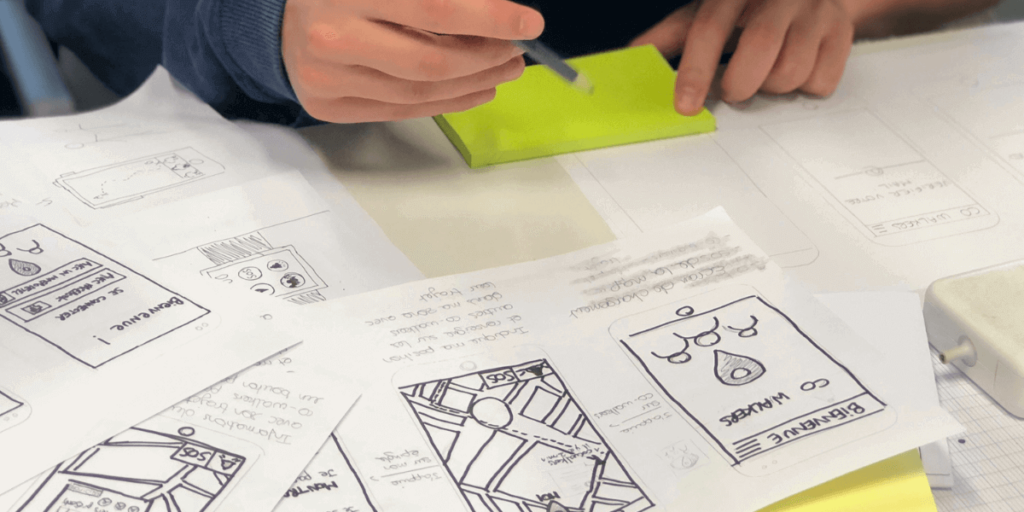
It's possible to identify paper prototypes (a prototype created using pen and paper), digital prototypes (a prototype created using a digital design tool like Mockplus RP), and coded prototypes (a prototype created using a programming language).
A good prototype allows you to test and refine your design. It has the right level of fidelity (realism), and is created according to the goal that you want to achieve.
The easiest type of prototype to create will depend on your specific needs and resources. Most of the time, it will be a paper prototype or a low-fidelity digital prototype.


