There is no shortage of tools creators can use to prototype products. Yet, pen and paper remain one of the most versatile tools design teams can use to prototype future products. That's because paper prototyping allows designers to explore various ideas at a minimal cost. And the more ideas the team probes, the faster they can design digital prototypes.
This article discusses the concept of paper prototyping and shares essential tips on how to make the most of this technique.
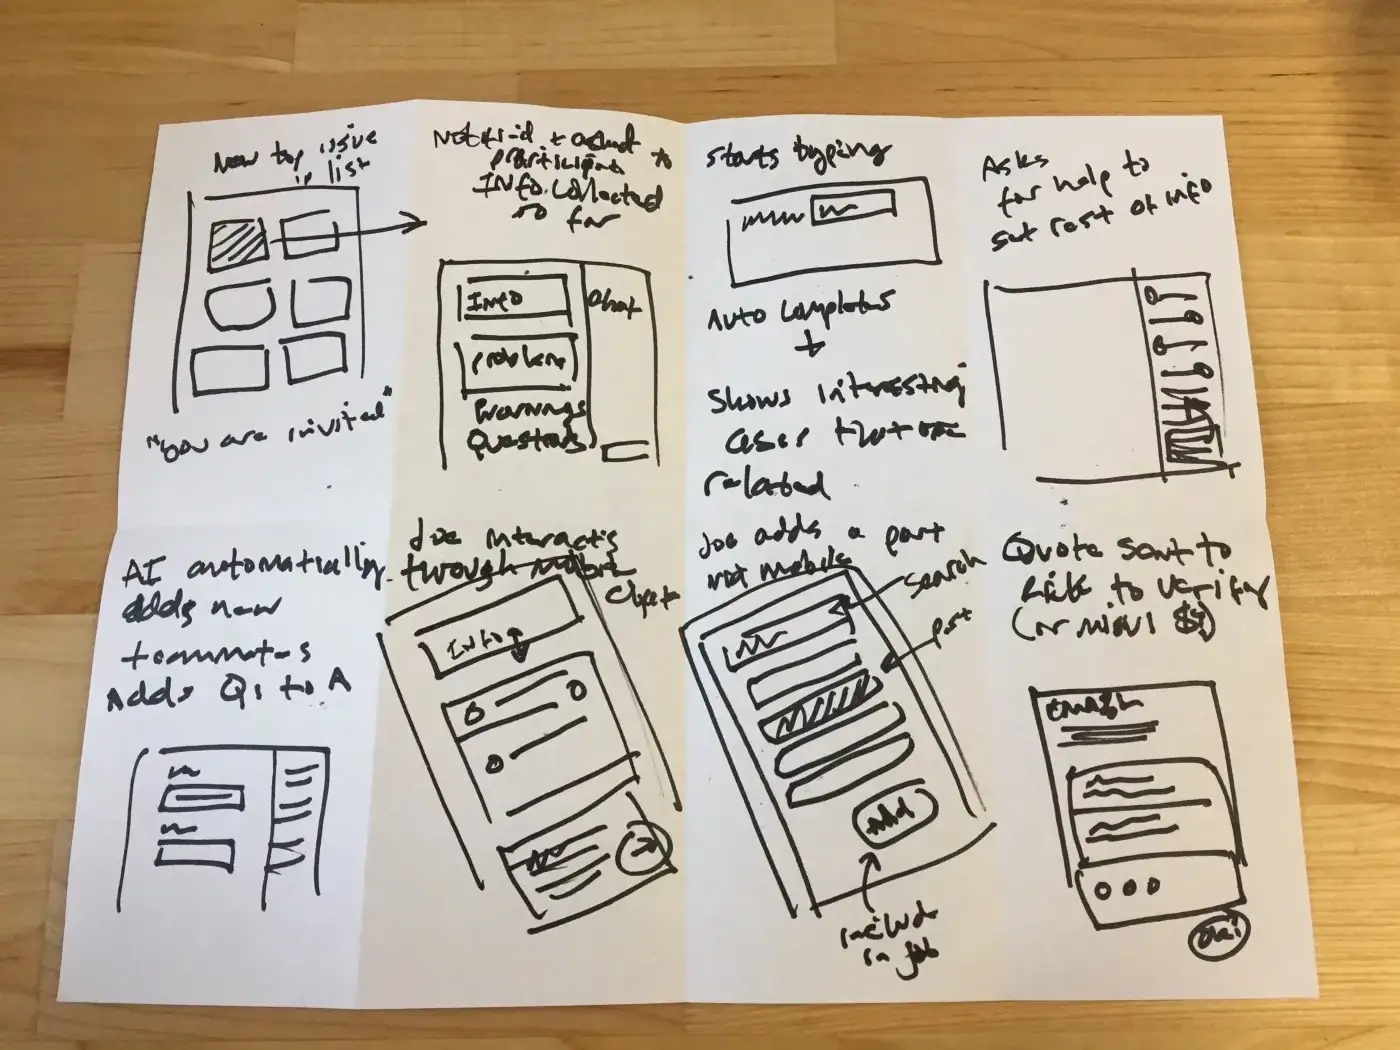
As the name suggests, a paper prototype is a prototype created using paper. A paper prototype is a low-fidelity prototype created from hand-drawn paper sketches. Before investing in a sophisticated digital prototype, product creators can sketch the screens of the future product on paper, combine sketches in a flow and share it with stakeholders or potential users to collect valuable feedback.
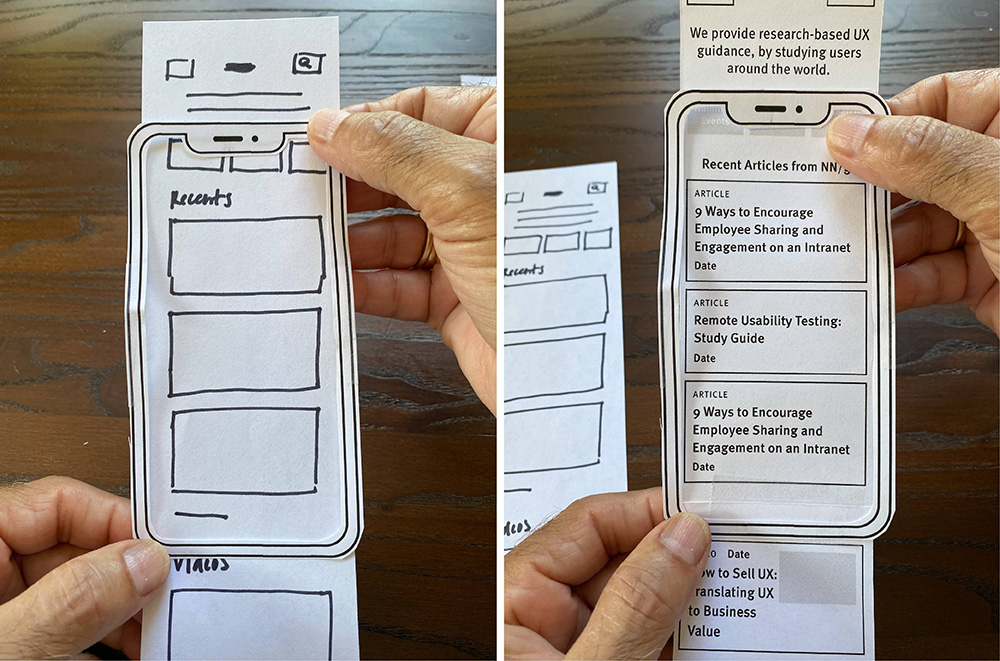
Paper prototype. Image by NNGroup.
Paper prototypes and wireframes have a lot in common, yet they are two different design artifacts.
A wireframe is a barebone visualization of a future screen/page. It is created using simple graphical objects such as lines, rectangles, and ovals and has dummy text (i.e., Lorem Ipsum).
A paper prototype is a collection of hand-drawn sketches representing a specific part of a product.
A key difference between a paper prototype and a wireframe is interactivity. A wireframe is a static design artifact, while a paper prototype is interactive. The interactivity of a paper prototype is achieved by inviting a person who plays the role of the "computer." This person will simulate the functionality of a product when test participants interact with it.
Paper prototyping helps teams to iterate fast. The faster the team can iterate, the better results they can achieve. Paper prototyping allows designers to validate many different ideas early in the design process.
Paper prototyping fosters collaboration. Paper prototyping is an excellent team exercise because it doesn't require any special skills. Everyone who can draw can create paper prototypes. It makes paper prototyping very useful during brainstorming sessions—team members can build prototypes together.
Low cost and low commitment. Paper prototypes are a very inexpensive way of prototyping. To create a prototype, you need a pen and paper. It takes a few minutes to create a prototype, so that team members don't get attached to their designs. If a prototype is not working, a team can throw it in a bin and start over.
Help product creators to collect honest feedback. Paper prototypes look rough and unfinished. When product creators share paper prototypes with others, they are more willing to criticize design because they know they are criticizing the 'work-in-progress' rather than the final design.
Paper prototypes can be tested only in person. Paper prototypes require clarification, so it's impossible to use this type of prototyping for remote testing.
It can be hard to interpret the design. It's nearly impossible to completely mimic an interactive design using a paper prototype. As a result, it can be hard to understand how the future product should look and work when all you see are pieces of paper. As a result, when you test a paper prototype, you can count only on high-level feedback.
Paper prototypes must be converted into digital assets. No matter how good a paper prototype is, a team will need to convert it into a digital format by using the prototype software tool.
Paper prototypes can be used at any stage of the product design process, but they are particularly useful during the early stages, such as design exploration and ideation.
When the team explores the product space and evaluates different product ideas, paper prototyping helps to make the ideas tangible and collects better feedback from people involved in the design process. Most people are visual learners, and it's much easier for them to evaluate the visuals rather than the text specifications.
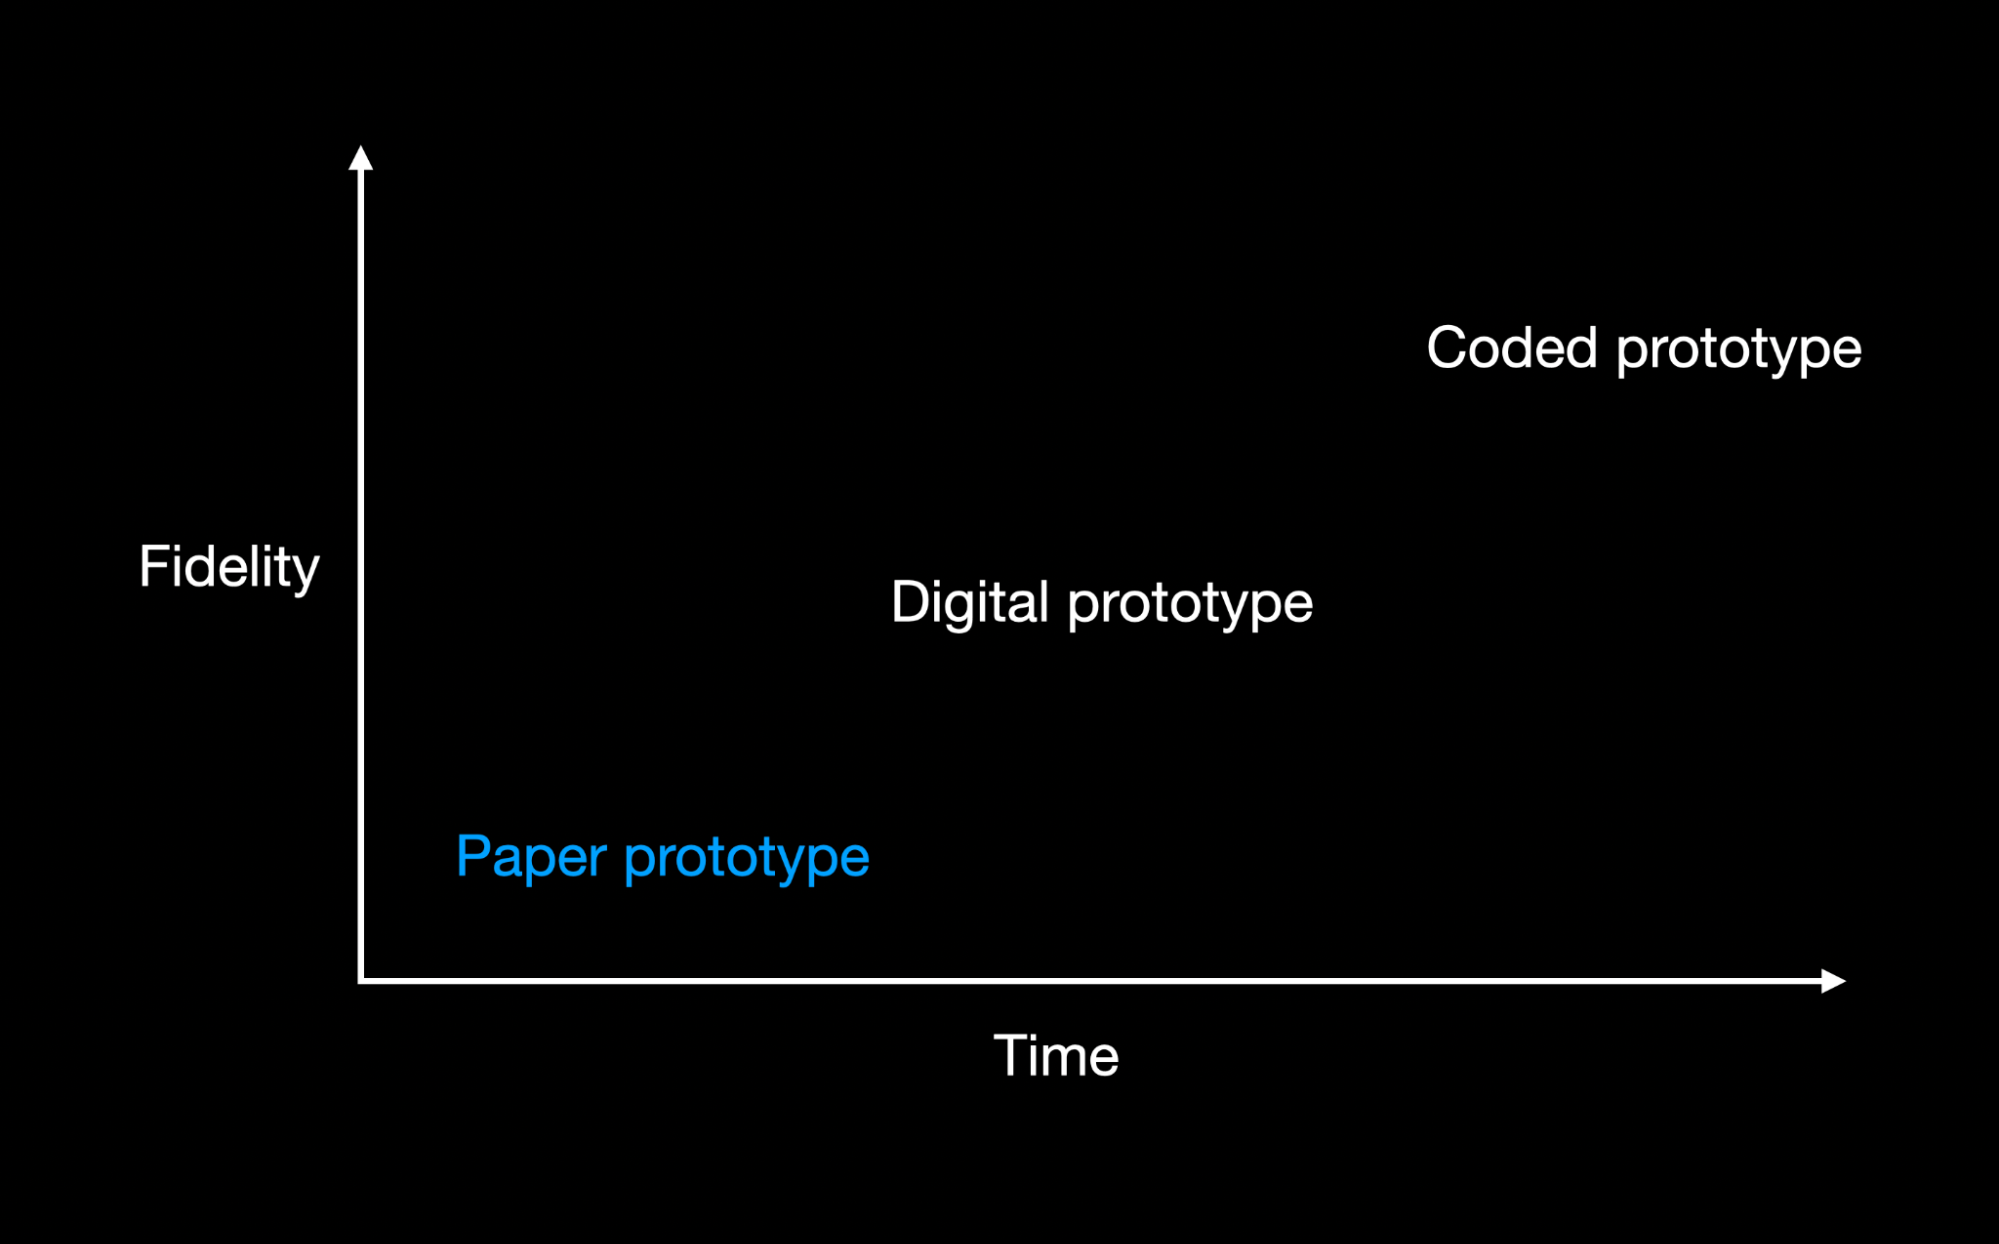
Prototype fidelity vs. time. Image by Nick Babich.
Brainstorming sessions. Session participants can create a paper prototype together right during the session. It will help build a bond between people involved in the design process, regardless of their roles and responsibilities. Paper prototypes can be used to map out the information architecture of a future product or visualize specific user flows.
Concept testing. A paper prototype is a go-to tool for internal or hallway usability testing. You can show a paper prototype to your team members to solicit important feedback about your solution or to potential users to learn whether the design works for them.
This section will describe the process of paper prototyping, step by step.
Why do you want to create a paper prototype? What exactly do you want to learn? It's vital to answer those questions before making a prototype. Your prototyping process becomes more focused when you clearly understand why you want to create a prototype.
Its recommended to complete the following sentence before creating a prototype:
I want to design a prototype of (scenario of interaction) because it will help me to (learning goal) so that I (how you use the knowledge)
Paper prototyping doesn't require fancy tools. Your basic set of tools should only include pen and paper. But the tools mentioned in this section can make prototyping more comfortable and efficient.
Paper holder. A paper holder is where you store the paper you use for prototyping. I recommend using a three-layer holder—one layer for clean paper, one layer for work in progress, and one layer for finished work.
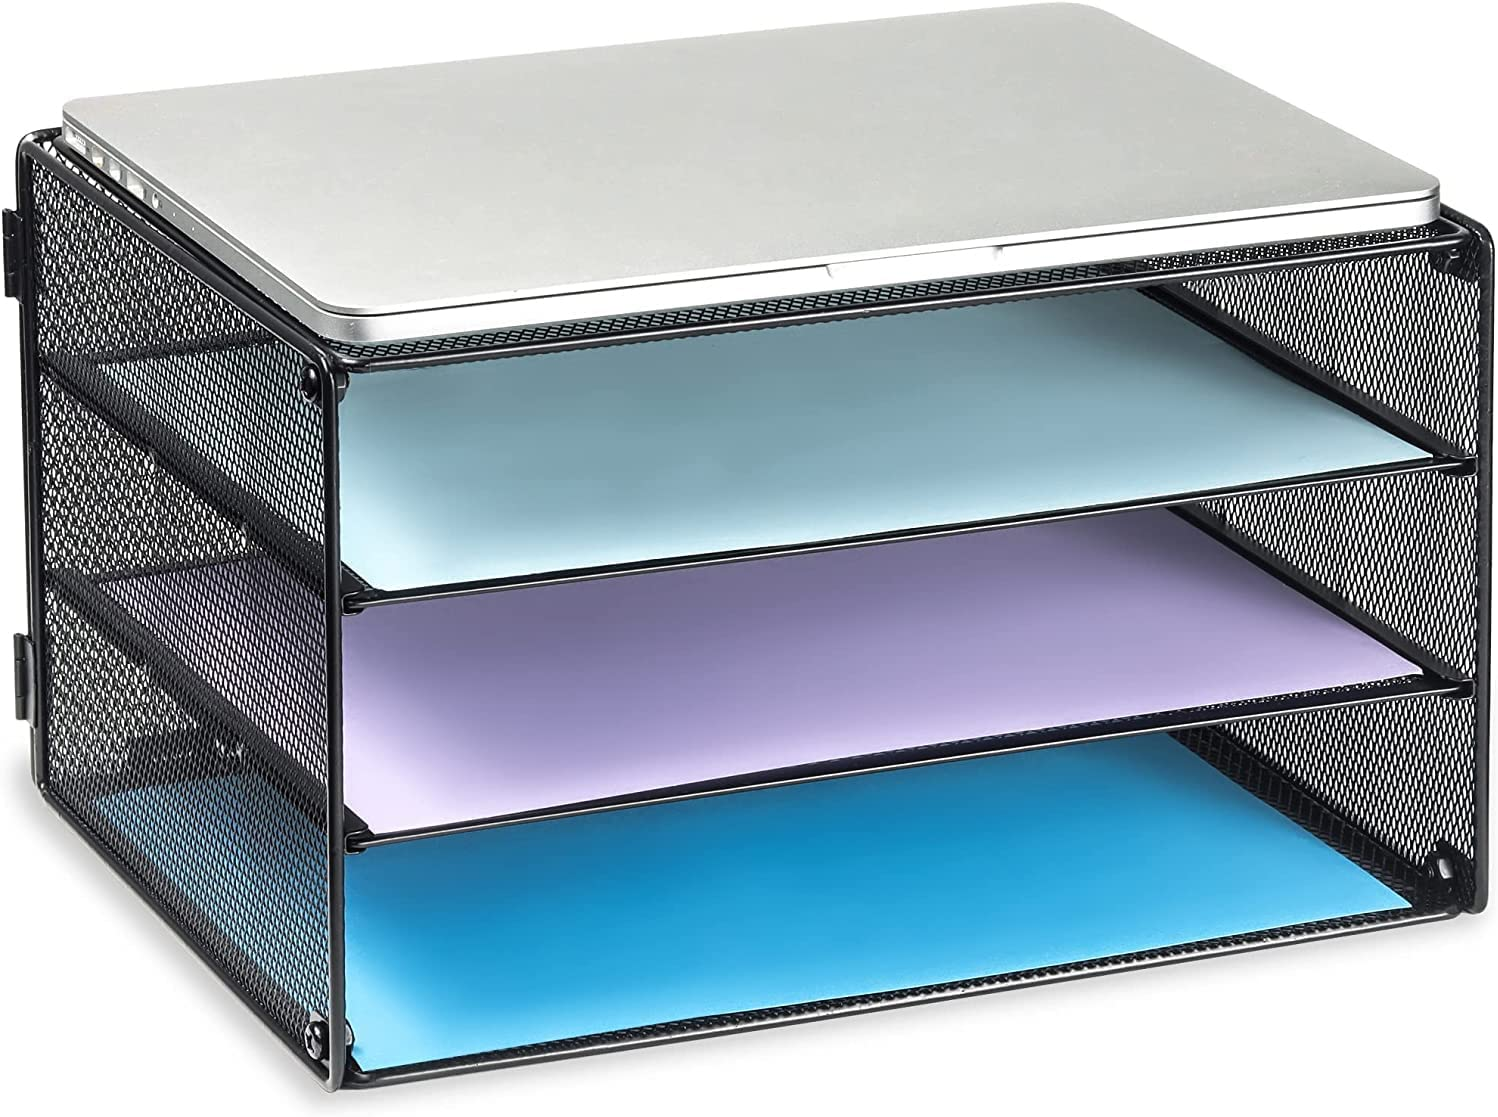
Paper holder. Image by Amazon.
Graph paper. While it's possible to use blank sheets of paper, graph paper can make the prototyping more efficient because it has a grid and makes it easier to draw objects.

Graph paper. Image by Amazon.
Post-it notes. Post-it notes can be used to show various states in a design. For example, post-its can be good for showing pop-up screens. You can stick post-it notes over sketches that represent your screens.
Using post-it notes during the testing. Image by gfycat.
Pen. You need to use a pen, not a pencil. When you use a pencil, you will have a temptation to redo things. It's easy to start questioning your solution when you know that you can quickly redraw it. But this way of thinking can make you abandon promising design decisions. The pen creates a sense of commitment. When you draw using a pen, you will likely finish what you've started.
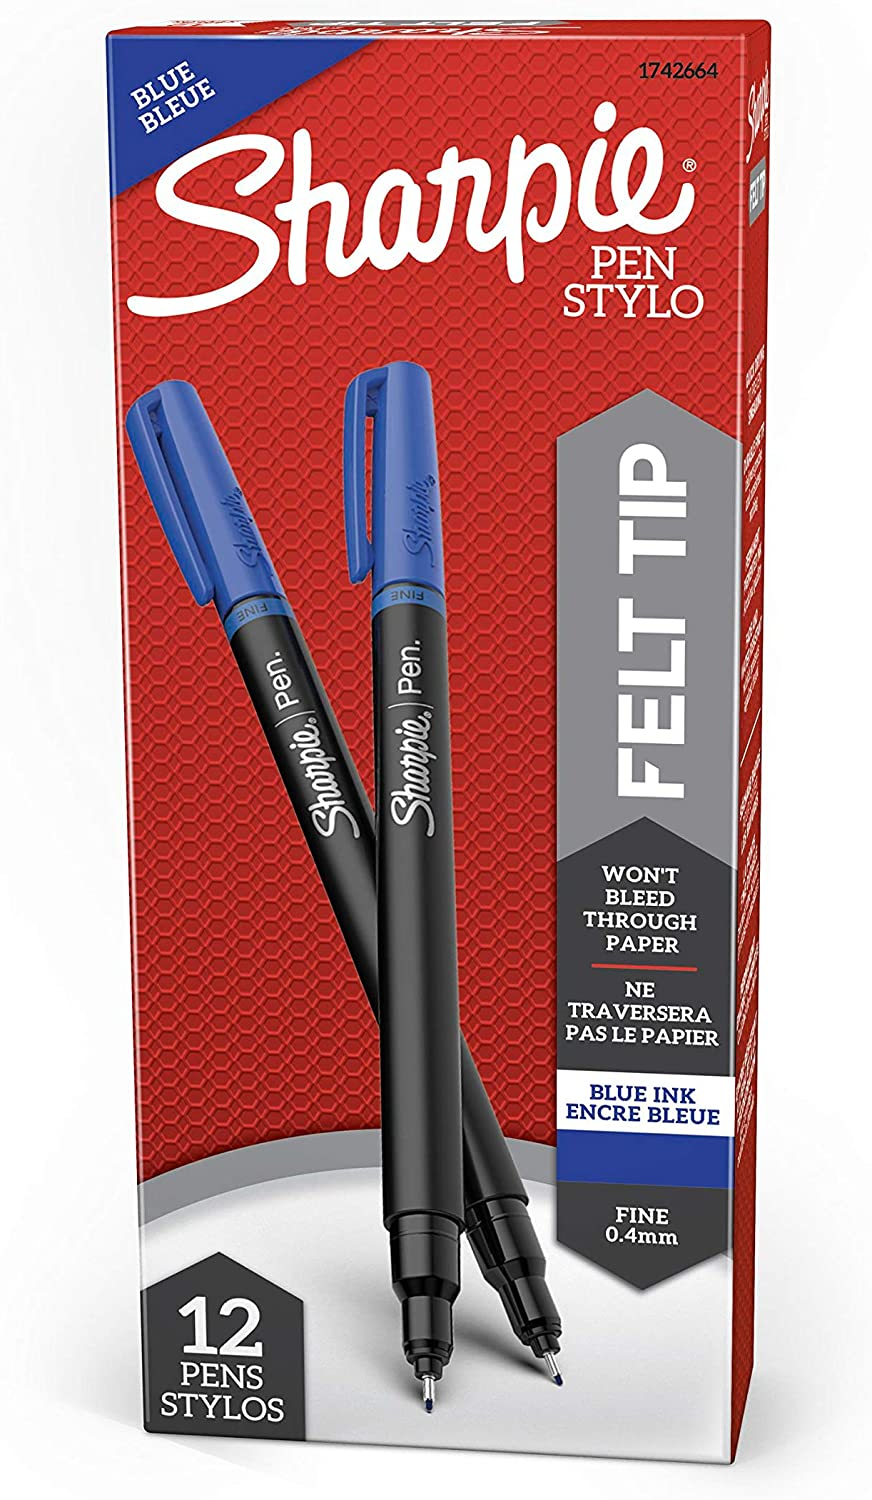
Sharpie pen. Image by Amazon.
Stencil. A stencil is a metallic frame with commonly used UI objects such as icons. Stencil makes it easier to draw UI elements because you don't have to create them from scratch every time.
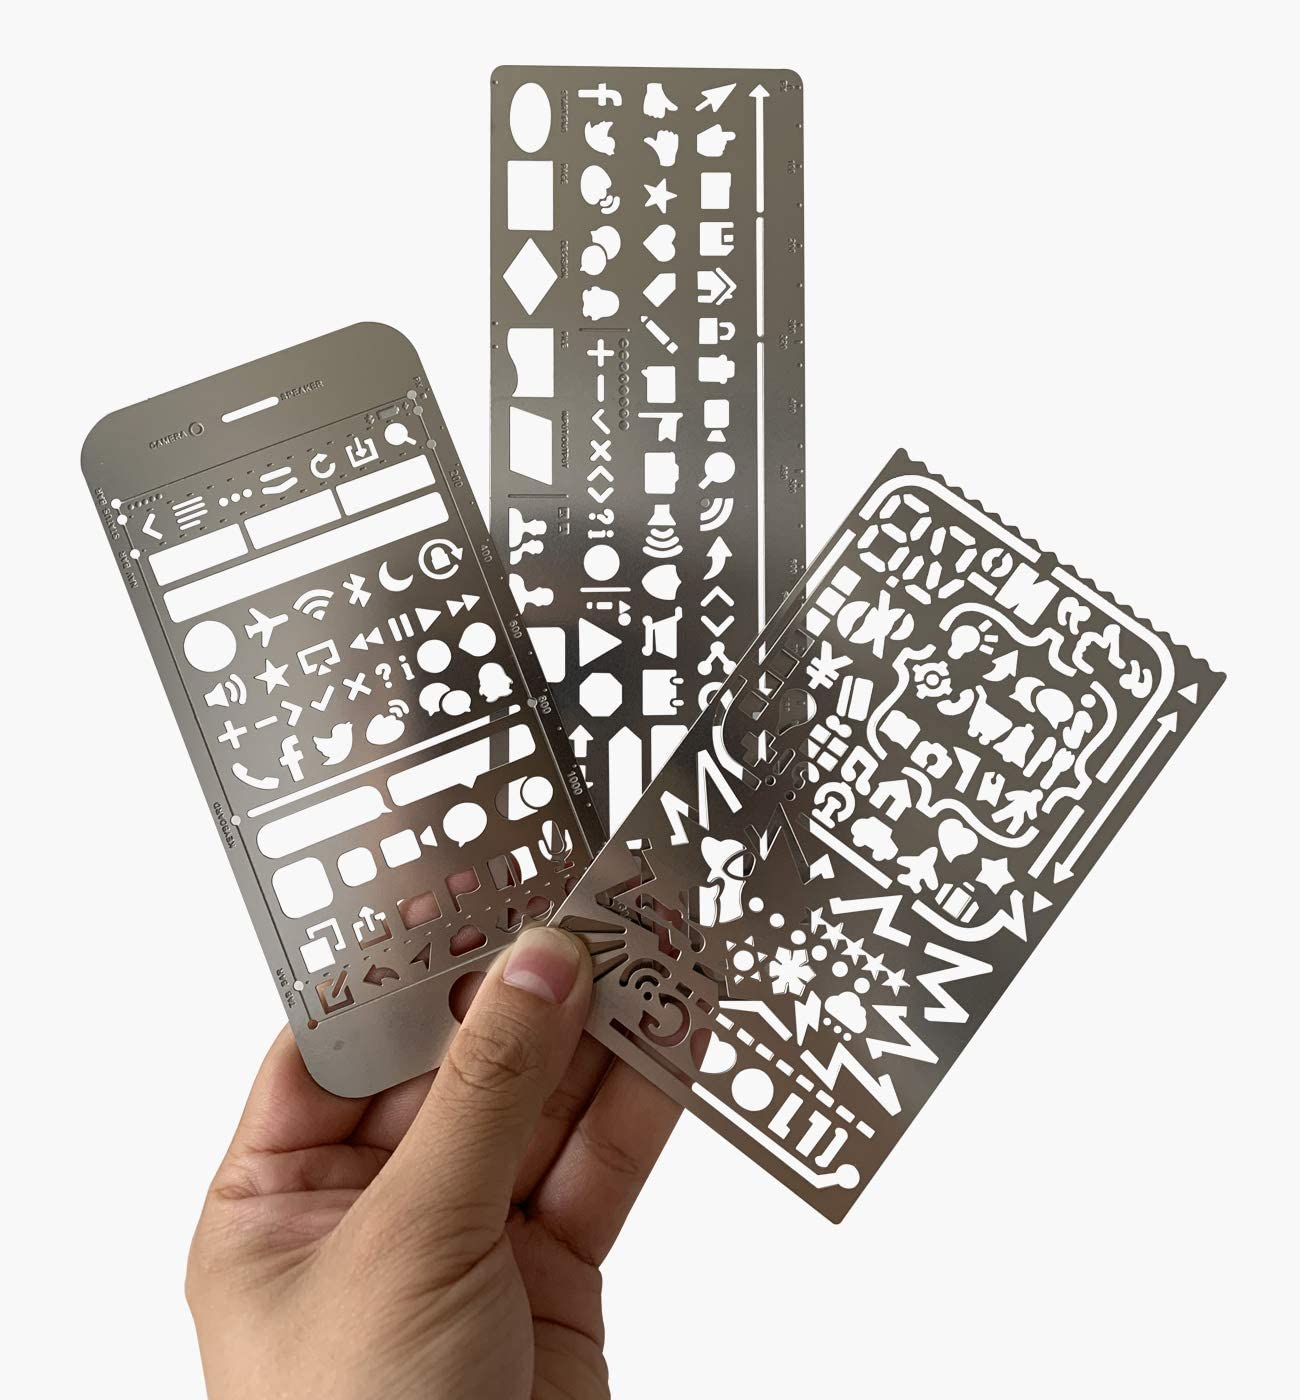
UI stencils. Image by Amazon.
Speed and simplicity are two significant advantages of paper prototyping. It shouldn't take much time to create a prototype. That's why you shouldn't try to create a polished design when you make a paper prototype. It's absolutely fine to create a prototype from rough sketches as long as this prototype helps to communicate your design intent to other people. If you have time, it's better to invest in creating a few versions of your design, so you can compare them side by side instead of making your design look great.
Paper prototyping should help you explore different design directions—the more ideas you visualize, the better. Exercises like Crazy 8s will help you quickly design multiple versions of a specific screen. And after you create multiple versions, you can evaluate them and choose the most promising one.
Result of the Crazy 8s exercise. Image by Chris Butler.
Paper prototyping is low-fidelity prototyping meaning that paper prototypes don't require adding any visual attributes to the final product. It's better to create prototypes in a black & white color scheme to focus user attention on functionality rather than stylistic decisions.
Yet, it's possible to use a contrasting color to highlight essential elements such as call-to-action buttons. Contrasting color immediately attracts attention and can be used to guide viewers when they interact with a prototype. But to make it happen, it's vital to use the color consistently. For example, all interactive elements in your design should be colored in the same colors (use one or two colors max).
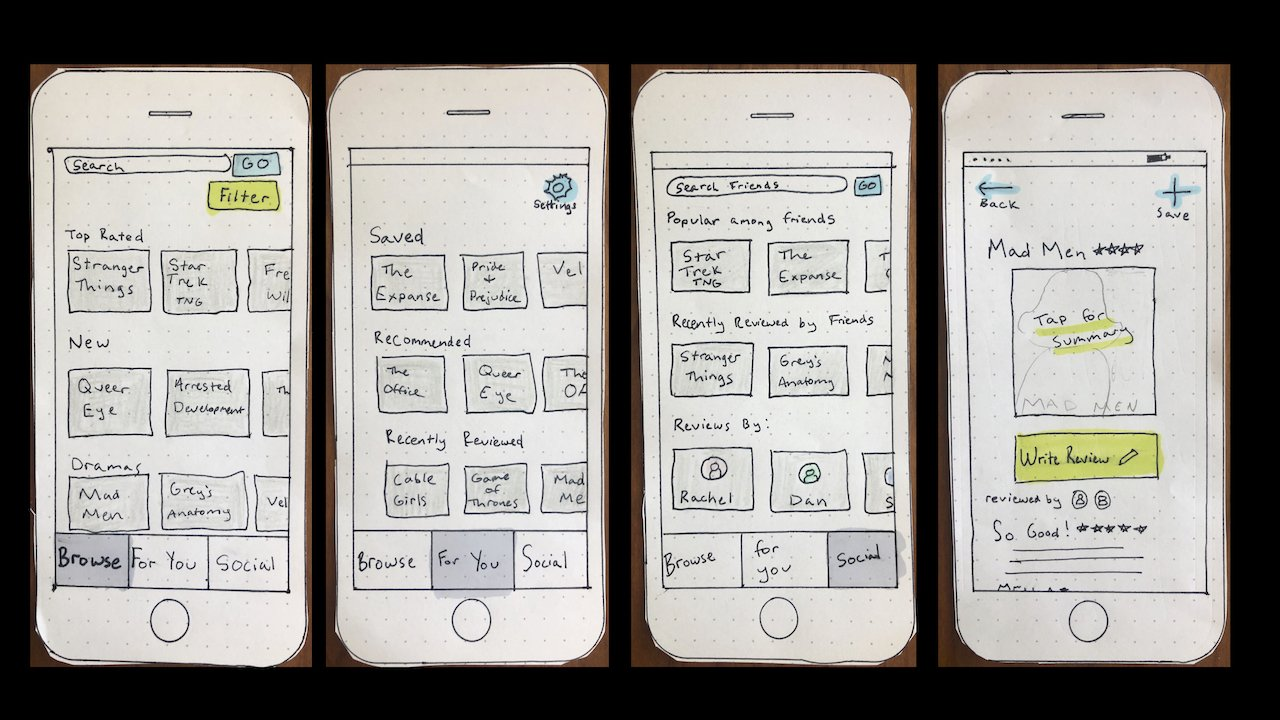
All interactive elements are colored in blue or green. Image by Maddie Ruona.
Since paper prototypes often require clarification, it can be a good idea to add annotations to paper prototypes to make viewers understand the design. Annotations should be short and to the point. Don't write a paragraph of text to explain specific elements; a few words should be enough.
It's not enough to sketch a set of screens or pages; you must also ensure that screens/pages work well together. Users should be able to navigate between screens easily. That's why once you finish creating a paper prototype, you need to validate it internally. Put yourself in the user's shoes and complete tasks that you want them to do. You will likely notice areas where users can face friction. You need to improve the design of such areas and conduct the testing again to ensure the problem is solved.
Once you finish validating your design internally, you are ready to conduct usability testing with your paper prototypes. Usability testing with a paper prototype works almost the same as regular usability testing with a digital prototype. But because paper prototypes likely will require clarification, the testing can be done only in person.
Here is a step-by-step guide you can follow to test a paper prototype:
You need to invite people who represent your target audience. Like any other usability testing, you need to hire at least 5 test participants because it will help you identify 85% of usability issues. Before searching for test participants, you must create a user persona, an archetype of your ideal user. You will use a persona as a reference when hiring test participants.
You must write a set of tasks you want test participants to do in your product. Tasks should represent real scenarios of interaction that actual users might want to do using your product. When writing tasks, consider all limitations that paper prototypes have. For example, you cannot evaluate the visual design decisions using a paper prototype because paper prototypes have limited visual attributes.
Testing paper prototypes requires the involvement of a facilitator and a 'human-computer.' A facilitator is a professional who runs the session. This person asks test participants to complete tasks, help them when they need clarification, and collects testing results.
A 'human-computer' remains silent during the testing, and the only thing that this person is doing is moving the paper in reaction to the user's interactions. Before starting the test, you must ensure that the 'human-computer' is familiar with the screens. It will help you minimize the wait time between the participant's action and the 'computer's' response.
Is it possible to combine two roles? Yes, but it's better not to do that. Humans are imperfect at multitasking. When a facilitator also acts as a human-computer, they can easily miss important details about user behavior.
Unlike high-fidelity prototypes, paper prototypes might not be self-exploratory. So it can be a good idea to explain to users what they see and what they need to do before they start to interact with a prototype. Here are a few questions that you need to answer before starting the session:
What is this design all about?
What parts of design might require explanation?
Where might users need help?
Create a context for the session by explaining to the test participant what product you're building, what you want to test, and how testing results will help you make a better product.
To test a paper prototype, you must invite a skilled facilitator to the testing session. A facilitator should not only create a context for testing but also observe test participants when they interact with a paper prototype to be able to support them when they have any problems with the design.
No, a wireframe is a static design artifact, while a prototype is always interactive.
It depends on your goal. Paper prototyping is a good option if you want to visualize your design quickly (in a few minutes) and don't care if it looks rough. On the other hand, if you're going to show the design to stakeholders or use it for design handoff to developers, then it's better to create a digital prototype.
Yes, all prototypes are interactive. But the interactivity of the paper prototype is achieved by using a special person called a ‘human computer.’ When test participants interact with a paper prototype, this person responds to interaction and updates the state of the prototype.
Yes, it's a type of low-fidelity prototype.
The great thing about paper prototyping is that you don't need to use any templates. You can design a prototype from scratch using pen and paper. But if you want to speed up the prototyping process, you can download frame templates from the Mockplus prototype templates library.


