Adobe XD is one of the most comprehensive and reliable UX design applications used to build a variety of prototypes and is free to install and use on Mac and Windows systems.Want to learn Adobe XD? This comprehensive Adobe XD tutorial teaches you how to learn Adobe XD from beginner to advanced.
Topics covered include:
Adobe XD uses a super easy and efficient interface, a style that it inherits from the companion application in the Creative Cloud package. It provides prototyping tools for different platforms, including websites, mobile phones, tablets, and more.
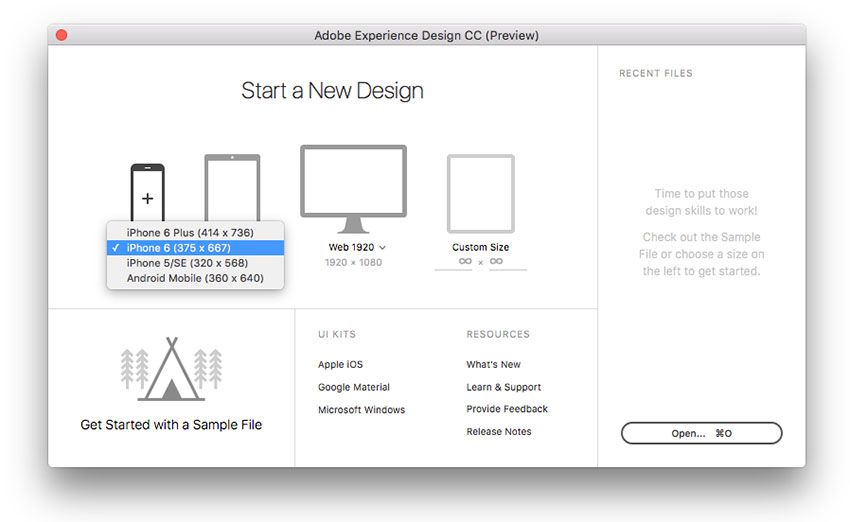
When launching the app, the welcome page provides different standard screen size templates and adds the file size you set yourself. In addition, the welcome page contains a number of resources; these resources can be used as a starting point for learning this application, as well as UI design elements such as iOS and Android mobile devices.In addition, other online resources are available, such as tutorials.
Adobe XD is divided into 2 views; design view and prototype view, accessible from the top left of the app. In design view, designers can use many tools and features to create design layout elements, add artboards to represent layout pages, and import resources from other applications like Adobe Illustrator and Adobe Photoshop.
Tip: Designers can copy design elements directly from these applications and then paste them into the selected artboard as a vector. This allows the imported artwork to be modified by changing the color and even modifying the path anchor.
The second view in Adobe XD is the prototype view, which allows designers to create connections between artboards (pages) and to define the connections between them through interaction. Once the project is complete, the designer can preview it by clicking the preview icon in the top right corner or share it with the team via a web-based link. Designers can also save different pages in a bitmap or vector-based format.
After exploring the basic composition of the Adobe XD interface, the following example demonstrates the process of creating your first UI prototype step-by-step in Adobe XD. We will create something for the iPhone 6 screen size. You can download the practice file by visiting the Github repository for this tutorial or download the image directly from Pixapay.
When you open Adobe XD, the welcome page and the type of project you can select are displayed. Choose iPhone6 (375*667px). Then click on the iPhone icon to create the project. Get the UI elements of the iPhone from Apple iOS for use in your prototyping. After creating the artboard, double-click the artboard name and change to "Home".
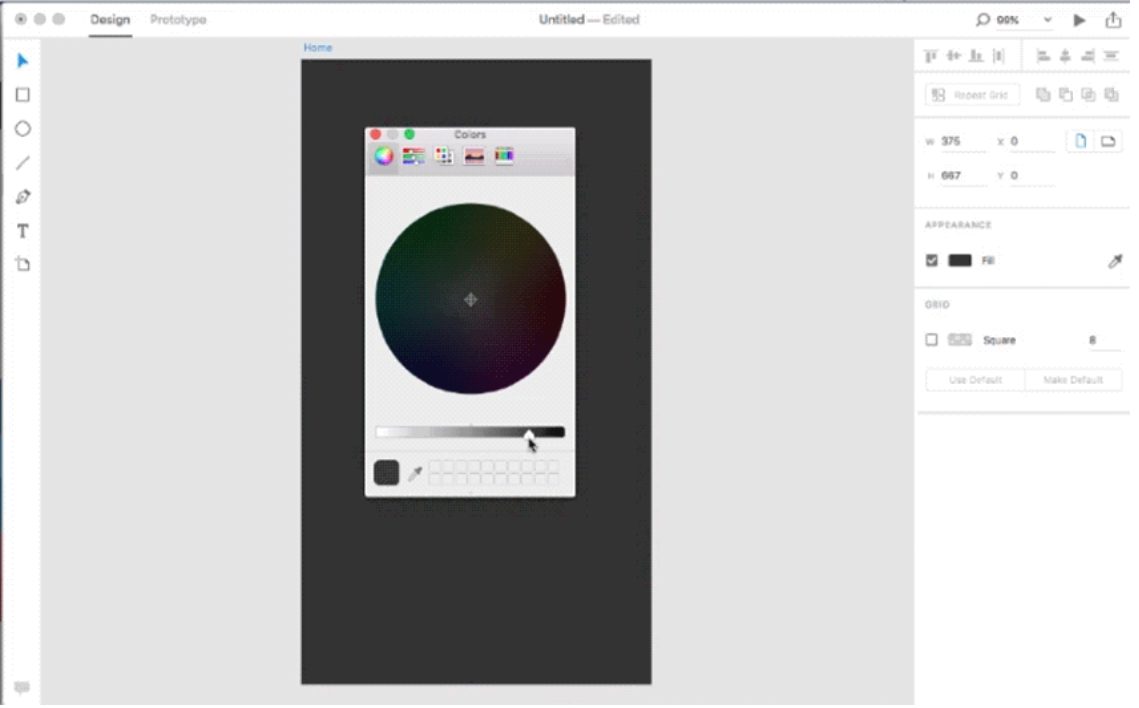
Click on the artboard; its properties will be displayed in the properties panel on the right side of the app. Then click on the fill color to open the color selection dialog. Set the color to dark gray and close the dialog box.
Open File > Import. In the file browser, navigate to the header image and click Import. Use the controls around the image to resize it to fit the page header. You can also double-click the image to trim the image.
Select the text tool from the text panel, click in the header area and enter the text "Nature". Double-click the text and select “Sans Serif Font” from the property panel on the right, set its width to “Bold” and the size to “32”. Double click on the fill and set it to "dark gray".
Select the Rectangle tool from the tool panel on the left and create a rectangle below the header. From the properties panel on the right, set the fill to dark gray and deselect the stroke options to eliminate the stroke.
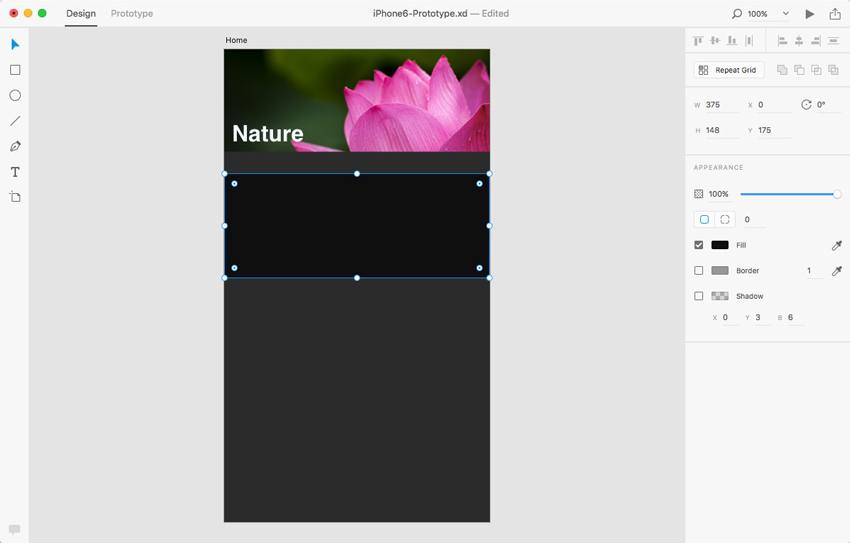
Import a small directory of the catalog and add text as you did in step 3. Set the small image to fit the background of the directory area, and add the text on the right as shown in the fifth image below. To fit a small picture into a special area, you can double-click on the picture and trim it using the 4 corners.
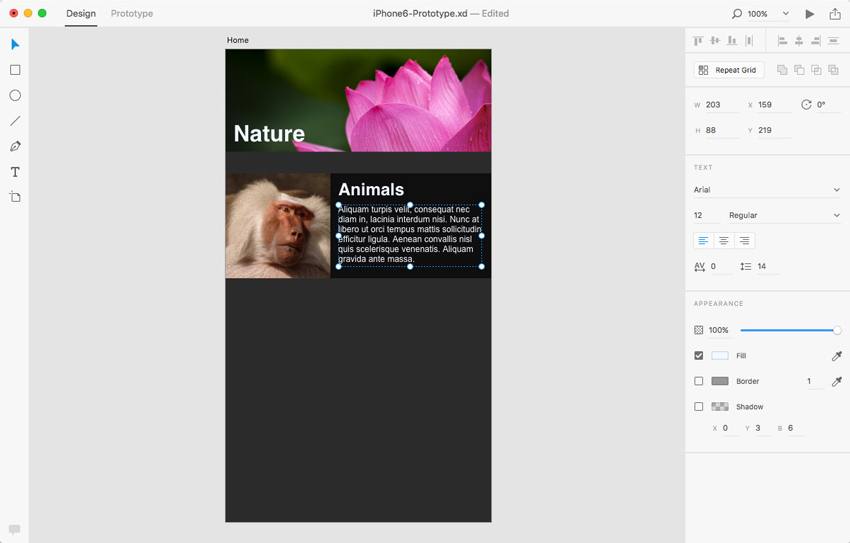
One of the most useful tools in Adobe XD is that you can create a grid from existing content instead of manually copying it. Hold Shift on your keyboard and select a small picture, content background, and/or text. Then, click the Repeat Grid button in the properties panel. This will copy the selected content to the grid.
Drag the bottom green icon to create a vertical grid of content. Then you can double-click on the duplicate to modify it. Finally, select the content and choose Cancel Grid to end the connection between them.
To create a new layout page, click the Artboard tool found on the tool panel to the left. Then, select the iPhone6 template from the right to create a new page.
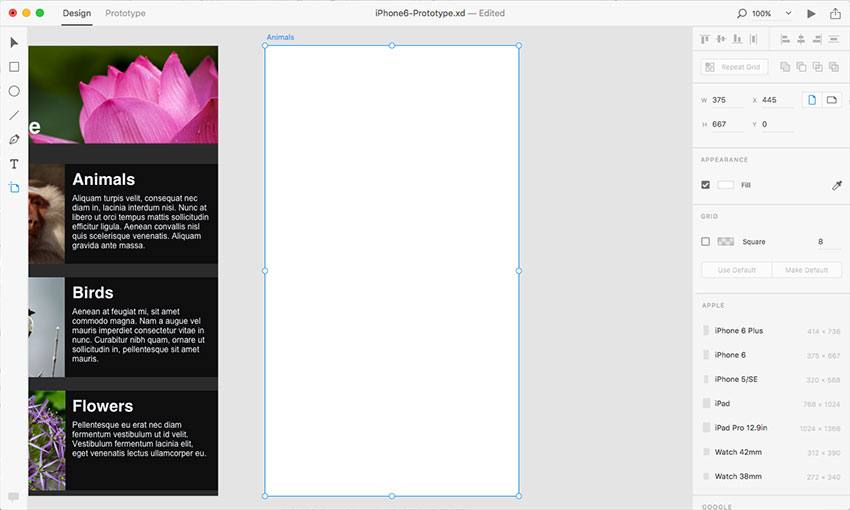
Repeat the above steps to create more pages and add content to the page as shown above. The final layout should be as follows.
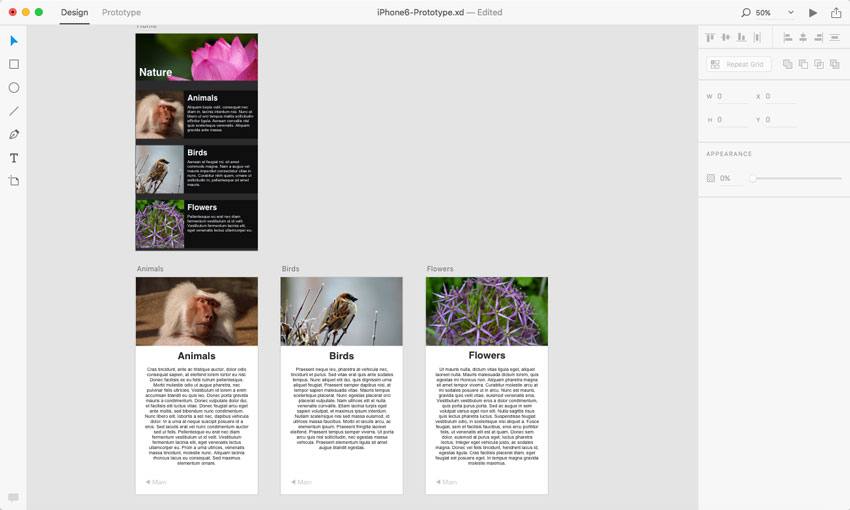
Once the design layout is complete, we will jump to prototype view to establish the connection for the created page.
Before setting up the connection between pages, we need to specify a homepage for the project. The home page can be any of the created pages. In this example, we click on the home icon that appears at the top left of the artboard to select the first layout as the home page.
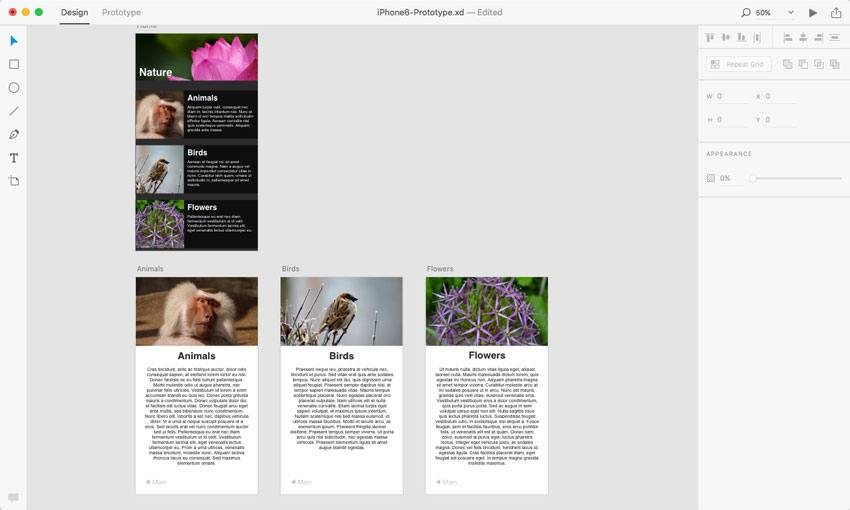
To connect between pages, select the home page and click on the blurred arrow on the right. The object float menu appears; select the next page and set the transition animation type (such as "stack"). Repeat this step to connect between other pages.
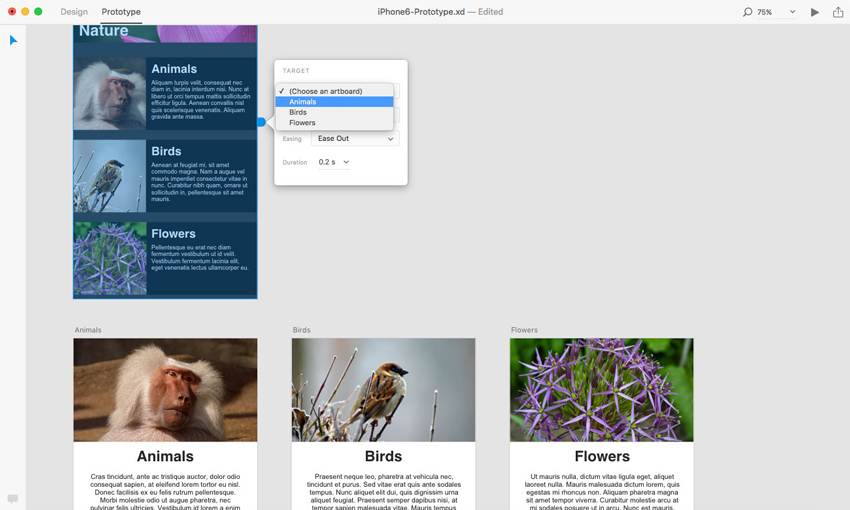
In this prototype, the first content group on the home page should jump to the first content canvas, the second content group should be connected to the second artboard, and so on. So, select the first content group and click the blue arrow on the right to set the object, similar to what we did in step 10. Repeat this step for the second content group.
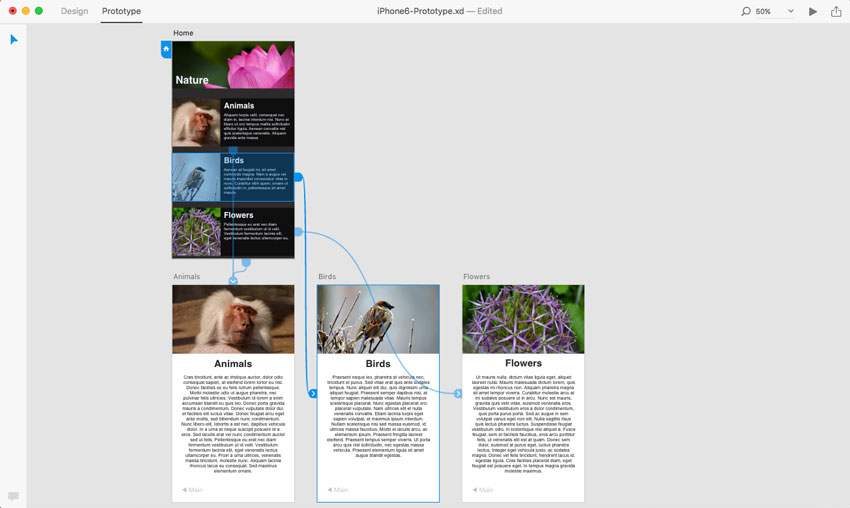
After creating the prototype, there are 2 main ways to preview it. The first is through preview in Adobe XD itself, and the other is through a link to a web page that can be sent to team members.
Click the preview icon in the top right corner of the app. A preview screen that allows us to see and navigate to different pages is displayed. As an extra, it has a record icon to allow us to record traffic between pages and save it in QuickTime (MOV) format.
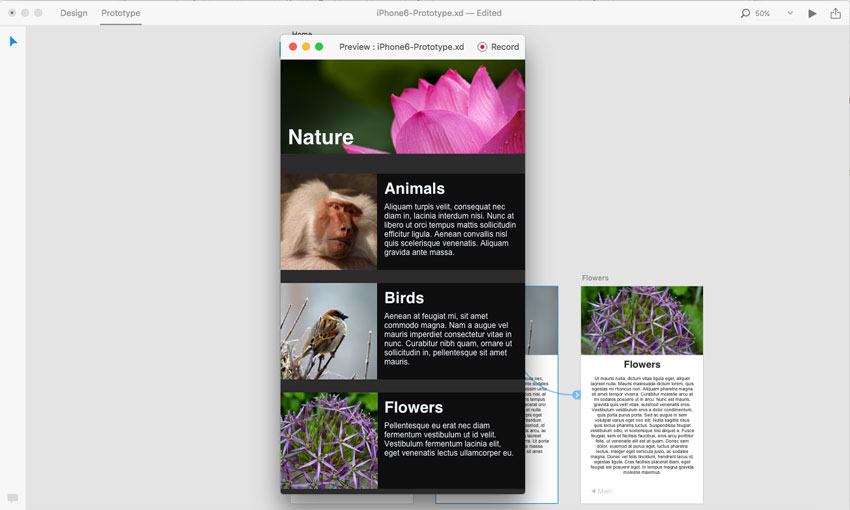
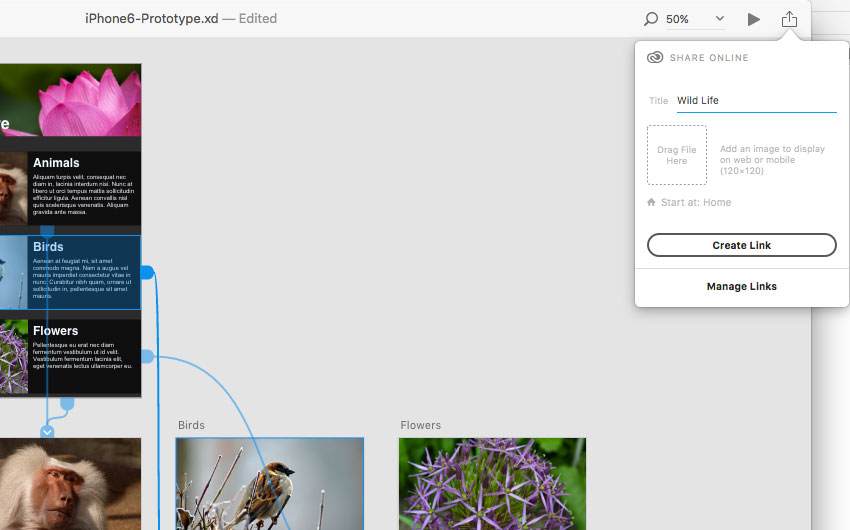
We are done! Now we only need to share our files with other team members or those who don't need to use XD. Click the Share button in the top right corner of the app; a floating menu will appear, providing a URL that can be copied and shared among team members.
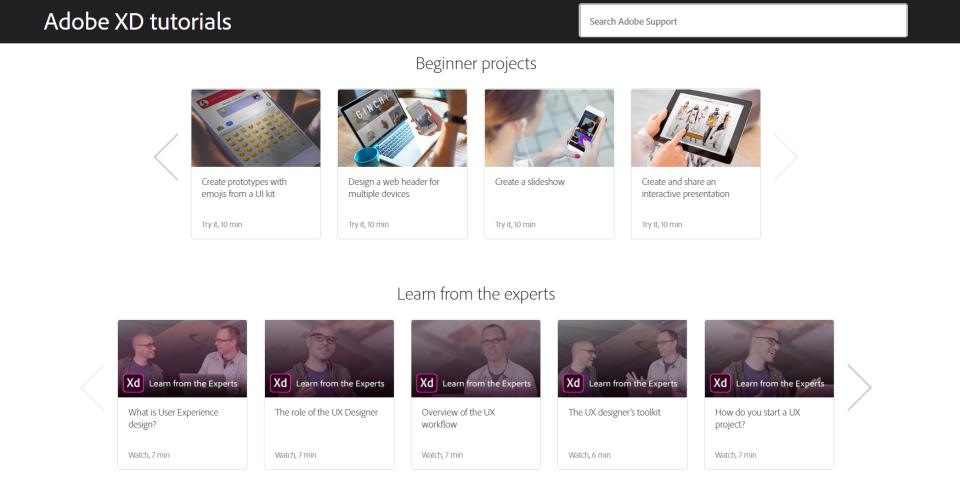
Now that we have covered the basics of Adobe XC CC, we can move on to learning its advanced features.The next small series is a collection of excellent XD tutorials.
Difficulty index: ⭐⭐
Teaching content:
Difficulty index: ⭐⭐
Difficulty index: ⭐⭐⭐
Teaching content:
Difficulty index: ⭐⭐⭐
Teaching content:
Difficulty index: ⭐⭐⭐⭐
Teaching content:
Adobe XD launched the plugin API in October and not long after some great plugins were developed that can help you design better and more efficiently. Here are a few of our recommendations.
1. Mockplus Cloud is a powerful product design collaboration tool for designers and engineers. It helps connect the entire product design workflow. It facilitates handoff by taking designs from PS, Sketch, Adobe XD and exporting into a format that can generate code snippets, specs, and assets.
2. ProtoPie - interactive plug-in: A code-free high-fidelity interactive prototyping tool that supports Adobe XD and Sketch with one-key import.
3. Rename it-rename plug-in: Make your own Adobe XD layer, artboard batch rename in order.
4. UI Faces - avatar plugin: You can automatically fill the avatar in Adobe XD. From a rich resource selection, add color, age, gender, hairstyle, etc. to your avatar.
5. Axhub Icons-icon expansion plug-in: One-click direct copy Alibaba vector icon library, no download; vector format can be edited.
6. Protopie - interactive plug-in: This is a high-fidelity interactive prototyping tool. It supports Sketch and Adobe XD with one-click import. PSD can also be imported with one click after opening with Adobe XD.
Below are 20 of the best free Adobe XD UI toolkits. With these toolkits, you can get familiar with Adobe applications quickly while taking advantage of their free XD design resources.
1. Explord's free Adobe XD UI toolkit: This card-style Explord UI toolkit includes everything you need to design a blog or portfolio website.
2. Educational Web UI Toolkit for Adobe XD: A UI toolkit suitable for designing educational and school websites. Also works with Adobe Photoshop.
3. Dashboard UI Toolkit for Adobe XD: This free management dashboard UI toolkit contains more than 100 components, 15 datasheet templates, and more than 10 pages (including home, login, email, chat, calendar, and invoice).
4. Pawtastic e-commerce UI toolkit for Adobe XD: UI toolkit for designing e-commerce or marketing websites. In addition to bundling 35 UI elements, it comes with 15 free wireframe templates.
5. Cactus Free Web UI Toolkit: Can be used to build any type of website, its design is fresh and beautiful.
6. Free Dark Adob e XD Styleguide: Free Adobe XD style guide template that makes it easy to get started in web design.
7. Adobe XD Free UI Style Guide: This style guide template is available in both light and dark versions, contains many web elements, and is built with Bootstrap in mind.
8. Wireless Wireframe Suite for Adobe XD: These free Adobe XD wireframe templates have been created to quickly build prototypes for websites or mobile apps. There are a total of 170 mobile templates, 90 web templates, 240 components, and 178 icons.
9. Free mobile app wireframe kit for Adobe XD: Simple kits help quickly turn mobile app ideas into reality.
10. Adobe XD desktop thread template: An e-commerce website and management dashboard.
11. WebKit Wareframes for Adobe XD: This kit makes it easy to quickly build website layout prototypes.
12. Mini Wireframe for Adobe XD: A fantastic free micro template for Adobe XD and Sketch.
13. Adobe XD Material Design UI toolkit: Free Material Design mobile UI toolkit that can be used in Adobe XD, Sketch, or Photoshop.
14. Cooin Crypto Free UI Toolkit: Design a website or mobile application with a cryptocurrency theme, including all common form elements, graphics, charts, and more.
 Mockplus RP
A free prototyping tool to create wireframes or interactive prototypes in minutes.
 Mockplus DT
A free UI design tool to design, animate, collaborate and handoff right in the browser.
